Manage CloudFlow risk profiles
This topic explains how to manage CloudFlow risk profiles.
CloudFlow uses the activated risk profile to calculate risks to your onboarded accounts and assets. There are two kinds of risk profiles:
-
CloudFlow Standard risk profile (default): The baseline risk profile that CloudFlow uses to calculate risks to your onboarded accounts and assets. CloudFlow customers can view details of the Standard risk profile here: AlgoSec Standard Risk Profile (credentials required).
-
Custom risk profiles: You can create multiple custom risk profiles to modify the risk calculations based on your unique situation.
View Risk Profile page
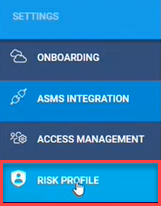
To access the Risk Profile page, click ![]() RISK PROFILE from the main menu on the left.
RISK PROFILE from the main menu on the left.
The Risk Profile page appears.
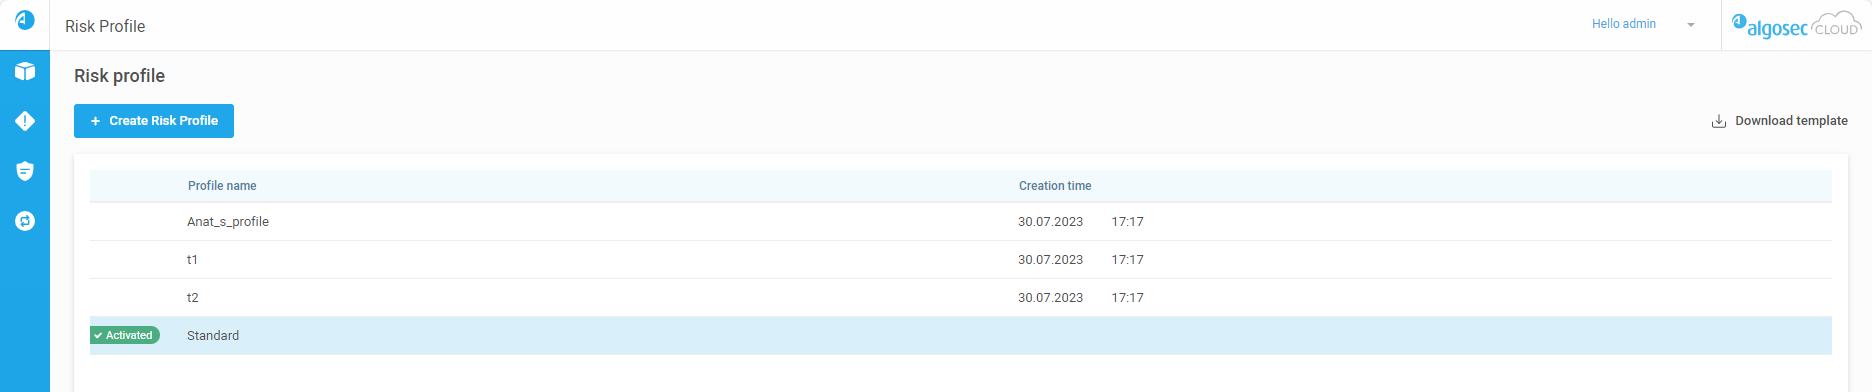
The page lists the available risk profiles and their creation dates. A green  tag marks the currently active profile. This is the profile CloudFlow uses to calculate risks to rules.
From the Risk Profile page, you can do any of the following:
Set the default risk profile
You can tell CloudFlow which risk profile to use to calculate risks.
Do the following:
-
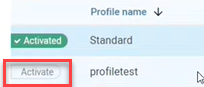
Hover over the row of the risk profile you want to set as the default risk profile.
-
Click on the Activate button that appears to the left of the risk profile.
-
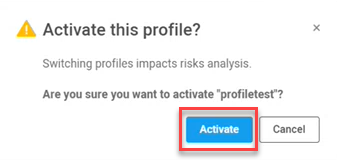
Click Activate a second time on the confirmation screen.

The active profile is updated and a green
tag indicates the newly activated profile.Note:
-
You can only have one profile active at any time.
-
The time it takes to recalculate risks after switching between risk profiles can be a lengthy process due to the need to recalculate the entire system.
-

Add a custom risk profile
Note: CloudFlow supports custom risk profiles for AWS SG, Azure NSG, and Azure Firewall only.
Note: For Azure Firewall, you can define network zones Internal, DMZ and External in the customized risk profile excel to improve risk assessments and risk accuracy. See Network Zone Definitions: Enhanced Risk Accuracy.
In the custom risk profile, you only need to include the risks you want to change or add. Everything else will be inherited from the standard profile.
Do the following:
-
Click
 Download template to download an Excel spreadsheet that is a template for creating a risk profile and update the template with your custom risk profile information.
 -
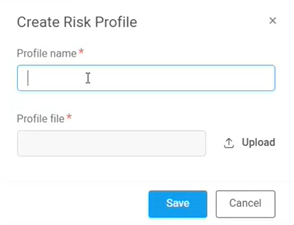
Click + Create Risk Profile.
The Create Risk Profile screen appears.
-
Enter a name for the Profile in the Profile name field.
-
Click Upload and select the risk profile Excel spreadsheet you created from the template.
-
Click Save.
The new risk profile appears in the list of risk profiles with the date and time it was created.
Important: After creating a risk profile, you need to set it as the default for CloudFlow to begin using it.

View or edit a custom risk profile
Do the following:
-
Hover over the risk profile you want to download and click on the
 Download icon that appears on the far right of that row.
Note: You cannot download the Standard risk profile.
-
Open the downloaded spreadsheet in Excel or similar software and view or edit the risk profile.
-
To update the existing risk profile:
Do the following:
-
Add the edited risk profile as a new risk profile.
-
Set the new risk profile as the default risk profile.
-

