Configure CloudFlow Notifications
The NOTIFICATIONS page lets you manage push notifications via email and Microsoft Teams to selected users, keeping them informed of important information such as risk and policy changes or ASMS connectivity. The configurable settings ensure users receive only the notifications that are most relevant to them.
To open the NOTIFICATIONS page, hover over the  SETTINGS icon at the bottom left of the screen. After the panel expands, click
 ![]() NOTIFICATIONS.
NOTIFICATIONS.
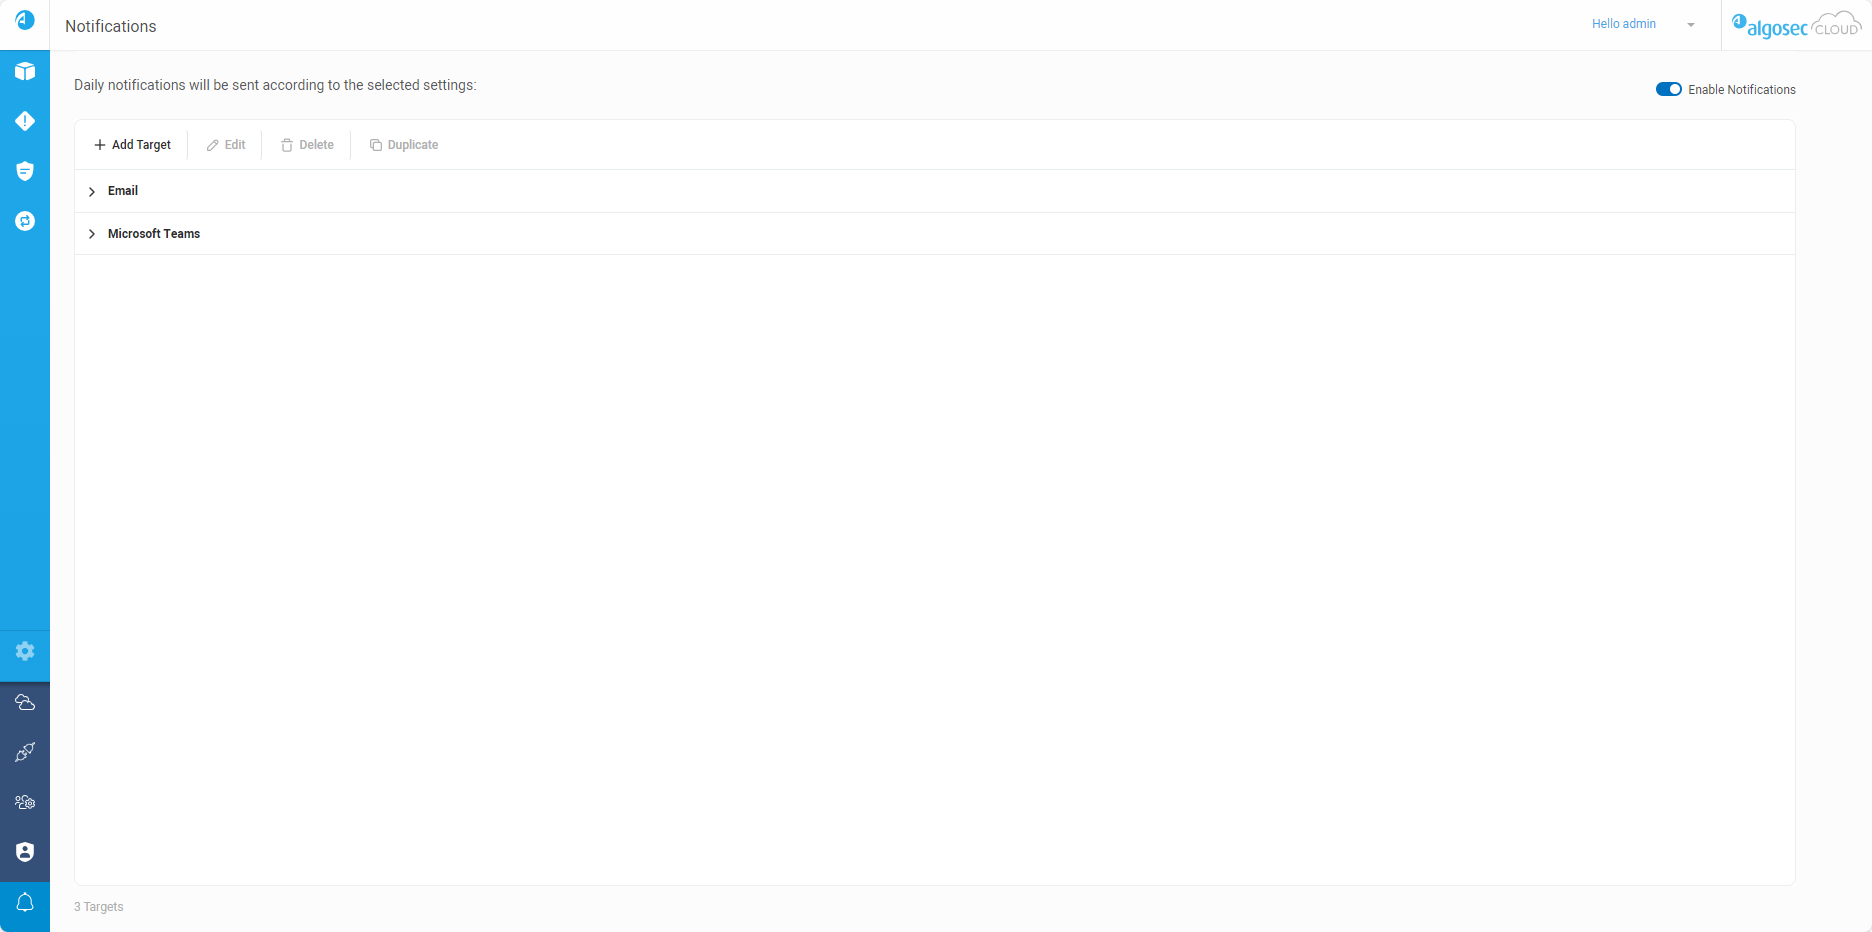
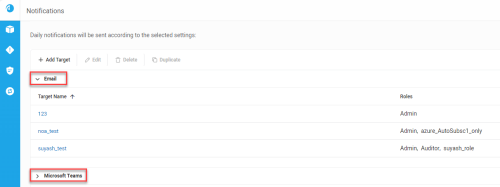
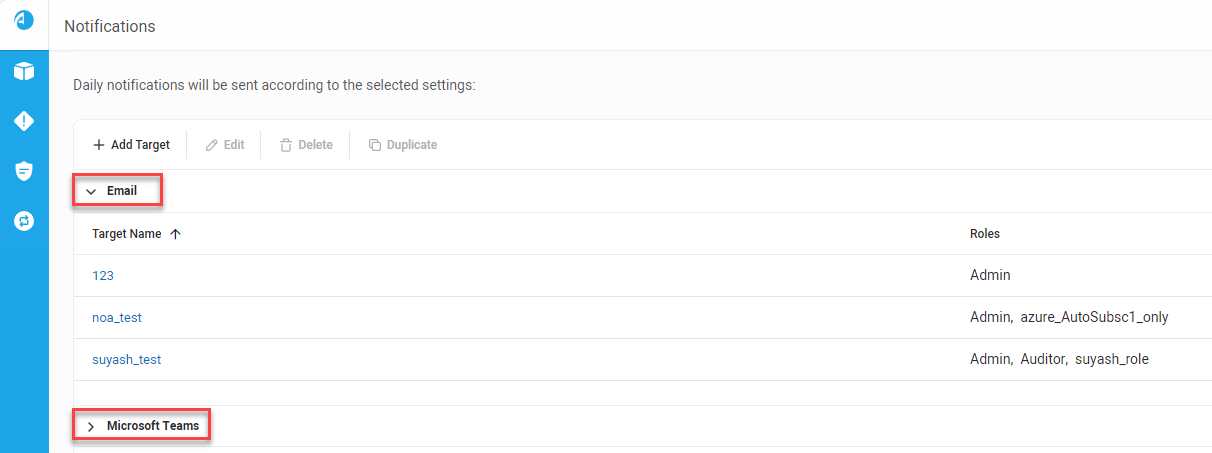
The NOTIFICATIONS page loads, providing options to configure and manage the notification settings.
Enable / disable notifications
Use the Enable notifications toggle on the far right of the page to turn the notification feature on or off. By default, notifications are enabled.
Add a notification target
To add a new notification target:
Do the following:
-
Click + Add Target.
Note: + Add Target is only available when Enable notifications is enabled.
The Add Target popup appears. Fill out the details based on the selected notification method:
 Email notifications

*Mandatory fields Target Name* The internal name of the target (appears on the Notifications page) Channel Type* Select the notification method: Email or Microsoft Teams User Roles* Select the user roles that will receive notifications. All users assigned to the selected user roles will receive these notifications. For details on managing users and user roles see Manage Users and Manage User Roles. Subject Prefix Enter text to appear before the email subject. For example, if the Subject prefix is "[CF]", a sample email subject would be as follows: [CF] AlgoSec - ASMS Cloud - New Risks (49 High) | Changes (90 AWS, 51 Azure) - Daily Digest Email Signature
Enter text to appear at the end of the email
Note: Click Reset to restore the default email signature.
Microsoft Teams notifications
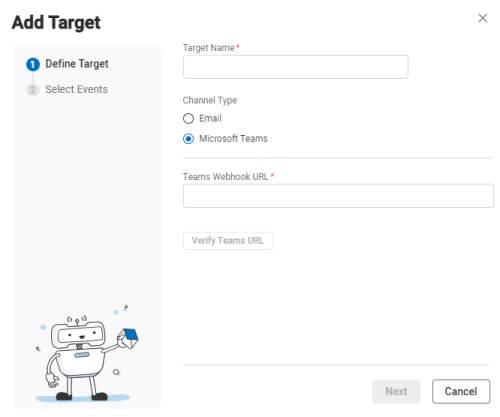
*Mandatory fields Target Name* The internal name of the target (appears on the Notifications page) Channel Type* Select the notification method: Email or Microsoft Teams Teams Webhook URL*
A unique address used to send automated notifications and updates from external sources to a Microsoft Teams channel. All members of the team will receive these notifications.
Steps to create a Webhook URL:
-
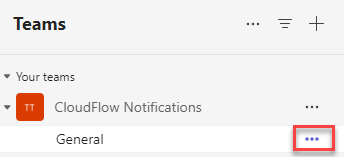
Locate the channel within the team that you want notifications sent to.
-
To the right of the channel name, click ... to open a dropdown menu.
-
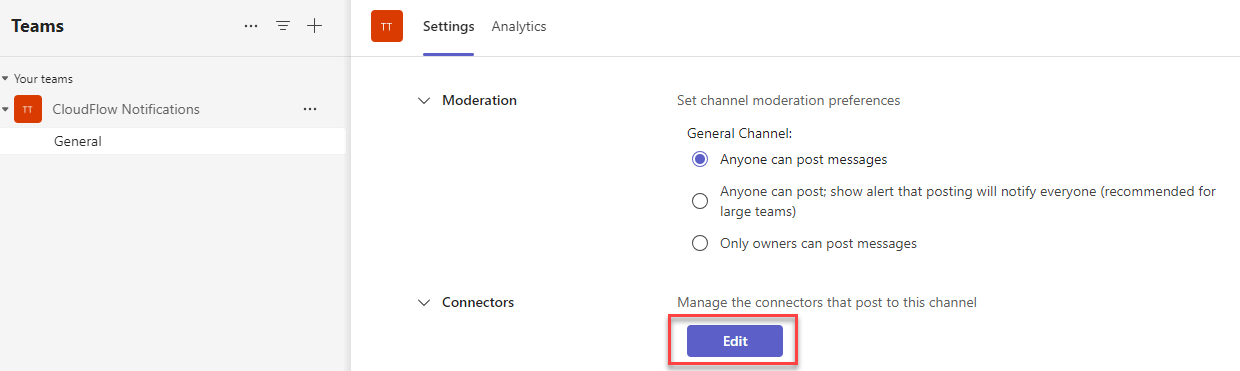
Select Manage Channel.
-
In the Connectors section, click Edit.

A list of available connectors for the channel appears.
-
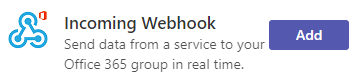
Locate Incoming Webhook and click Add.
-
On the app popup screen select Add.
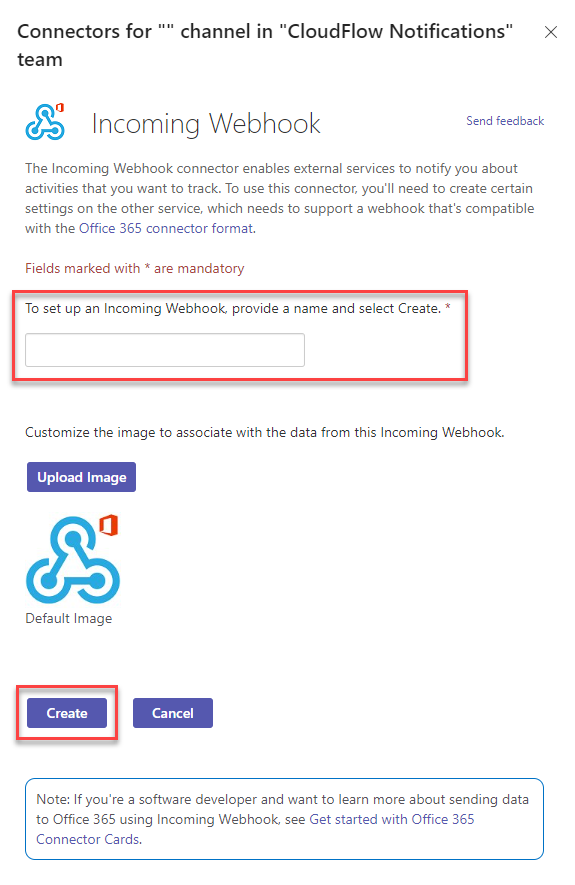
Options to configure the Incoming Webhook appears.
-
Configure the Incoming Webhook

-
Type a name for the webhook.
-
(Optional) Upload an image.
-
Click Create.
The screen updates with a URL link to access the webhook.
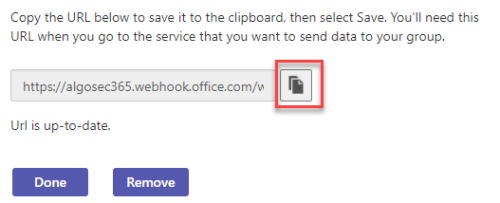
-
Click
 to copy the generated URL to the clipboard.
 -
Click Done to close the window.
-
-
Paste the URL of the Microsoft Teams Webhook in the field Teams Webhook URL.
Tip: Click Verify Teams URL to confirm that the link is valid.

A success message appears under the button and is also sent to the newly connected Teams channel.
-
-
After filling out the target details, click Next.
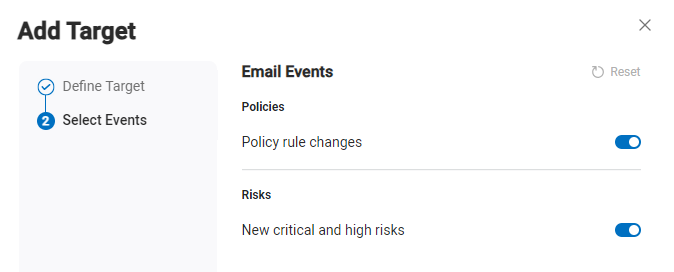
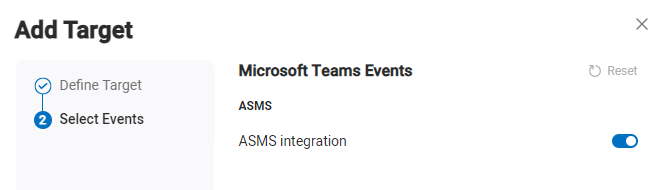
A new screen appears with a list of events. The options available depend on your chosen Channel Type:
Email notifications
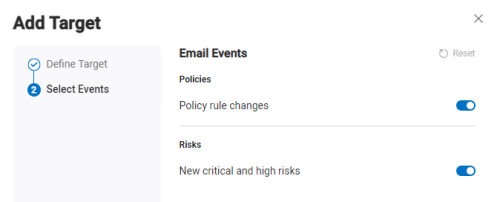
Notification Event Description Policy rule changes Rules were added, deleted, or modified
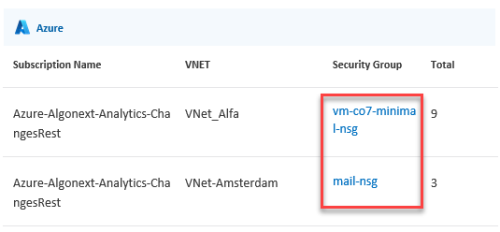
Note: In the notification email, click the security group link to see rule changes details in CloudFlow.
New critical or high risks
New critical or high risks were detected
Note:
-
When an account is onboarded, new risk notifications are sent starting from the day after onboarding.
-
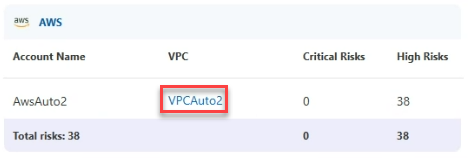
In the notification email, when a risk is detected on a policy connected to a specific VPC or VNet, you can click the link to see risk details in CloudFlow.

A daily email notification is sent at midnight EST when the following conditions are met:
-
The email notification event is enabled
-
The event was detected in the previous 24 hours
-
The user role in the target has permissions to see the account where the event occurred
Microsoft Team notifications

Notification Event Description ASMS integration Changes in the connectivity between CloudFlow and ASMS were detected Note:CloudFlow checks for changes in the connectivity status every 15 minutes.
A Teams notifications is sent when the event is enabled and either of the following conditions are met:
-
A new connection to an ASMS tenant was detected
-
There has been a loss of connectivity between CloudFlow to an ASMS tenant for over 60 minutes
-
-
Click the toggle next to each event type to select which events will trigger sending notifications.
Note: Click Reset to restore the default notification settings.
-
Click Add. The new target is created.
Note: To see the new target, click on the Channel Type to expand the list of notification targets.


Edit / Delete / Duplicate targets
You can modify existing targets:
Do the following:
-
Click the name of the target
Note: You can also select the row of the target and then click Edit.
A window with the target details opens.
-
Make the necessary changes to the target details.
-
Click Save to save the changes.
Do the following:
-
Select the row of the target you want to delete.
-
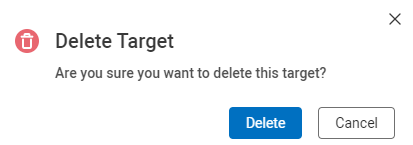
Click Delete.
-
In the confirmation window that opens, click Delete.

Do the following:
-
Select the row of the target you want to duplicate.
-
Click Duplicate.
A duplicate copy of the target is created with a number appended to the target name to distinguish it from the original.